How to fix or replace a leaky faucet
Kitchen faucets are a common household fixture. They’re used every day, sometimes multiple times per day.
Over time, kitchen faucets can wear out or even break down and start leaking.
If your kitchen faucet is leaking, the first thing you should do is turn off the water to the sink. You will then need to figure out why it is leaking.
Here are the most common causes:
- Worn out washer. If the handle doesn’t turn smoothly or feels loose, try replacing the washer first. It’s cheap and easy to do with just a screwdriver and a wrench.
- Over tightening the handle set screw. If your handles aren’t moving smoothly or feel loose, check for stripped screw holes in the handles. You can use an all-purpose glue like JB Weld or epoxy to fix them temporarily or permanently depending on how badly they are stripped out. If they’re stripped too badly to use glue or epoxy, replace them with new ones.
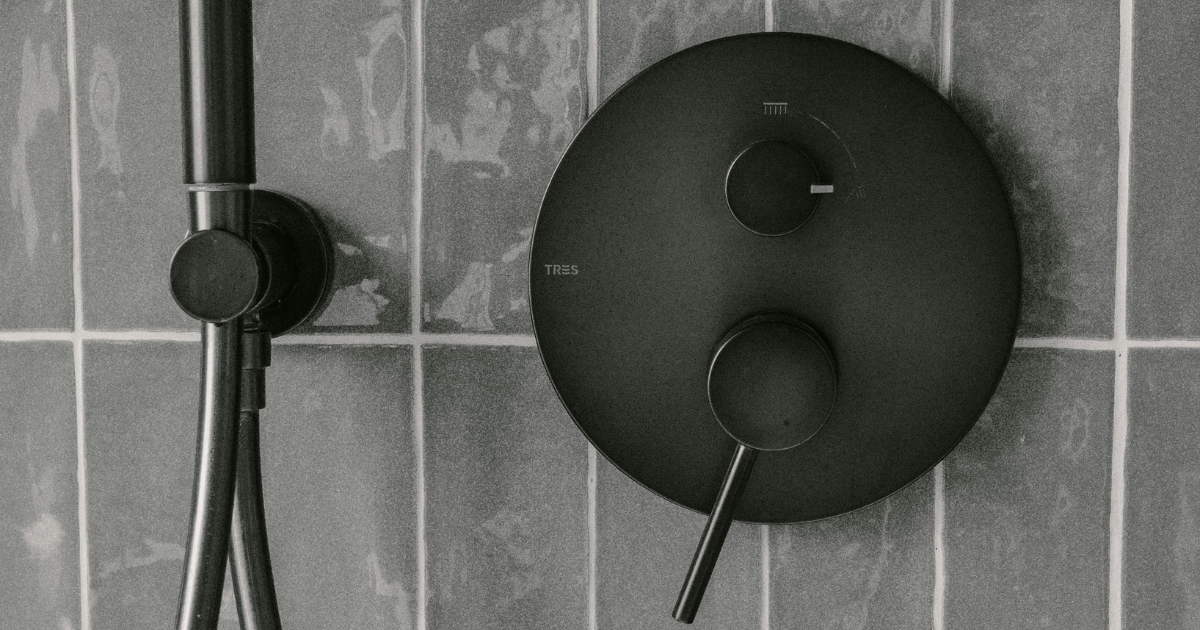
- Cracked washerless cartridge assembly (faucet). The cartridge is the little piece inside that makes your faucet work smoothly; it may have cracks in it from age and use if it leaks badly enough for you to notice it dripping while sitting under the sink.
When this happens, you’ll need to replace the entire faucet. Replacing a kitchen faucet is an easy do-it-yourself project that you can complete in just a few hours.
Here’s how to do it:
- Turn off the water supply to the sink. Then turn on the faucet and make sure the water is drained out of the lines.
- Remove the old faucet handles by unscrewing them counterclockwise using an adjustable wrench (or channel locks if you don’t have access to an adjustable wrench). Take care not to scratch any surfaces as you remove them.
- Disconnect any flexible hoses that connect to the faucet handles by unscrewing them counterclockwise with an adjustable wrench (or channel locks if you don’t have access to an adjustable wrench). Take care not to scratch any surfaces as you remove them.
- Remove any screws holding down brackets that hold down hoses or electrical wires connected to your old faucet handles before removing them completely.
Now you’re ready to install your new faucet!
Look at your new faucet’s instructions for specific instructions on how long each part should be screwed in and how much torque should be applied when tightening them down.
Most modern faucets use compression fittings that require no tools other than a crescent wrench (or channel lock pliers) but some older models may require a pipe wrench or plumber’s wrench for installation
Position your new faucet over the mounting holes in your sink (see manufacturer’s instructions) and mark where they should go with masking tape or painter’s tape so that they’re level with each other (in most cases).
If you’re working with a single-lever style faucet (as opposed to a double-lever), you’ll want to make sure the handle is oriented so that it’s facing outward when you’re finished — this will make it easier to turn on and off while keeping water from spurting out at odd angles during use.
Tighten all connections.
Once you’ve got both handles securely in place, use your pliers again to tighten down each connection screw until they are snug but not overly tight before you try turning on.
If you need help or do not have any tools, contact MasterCraft Plumbers, we offer free estimates and same-day service in Carlsbad and Murrieta, CA. and the surrounding areas.
If you would like to schedule an appointment, call (760) 350-3888.