MASTERCRAFT PLUMBERS
Providing quality and full-service plumbing services to San Diego and Riverside Counties
California Contractor License #1017799
The Local’s #1 Choice for Plumbing Services
MasterCraft Plumbers of Carlsbad and Murrieta is the top choice for local homeowners and businesses seeking dependable, affordable, and high-quality plumbing services. Whether it's a small repair job or a complete remodel, our team can handle all your plumbing needs with expertise and efficiency.
In emergencies, you want a plumbing company that is reliable and capable of resolving issues quickly so your life can return to normal. MasterCraft Plumbers takes pride in diagnosing problems swiftly and accurately, ensuring you won't be left waiting for service. We specialize in detecting plumbing leaks and making necessary repairs, providing you with an upfront estimate to avoid any unexpected costs.
From burst water heaters and leaky faucets to burst pipes and clogged drains, we can address any plumbing issue that arises. You can always count on MasterCraft Plumbers to get the job done right. Contact us today for a free estimate at (760) 640-0337.
MasterCraft Plumbers is a division of MasterCraft Home Improvement, operating under California Contractor License #1017799.
Take a look at our professional services
We provide a comprehensive range of plumbing services to handle all your repair and remodeling needs in Carlsbad, Murrieta, and the surrounding cities. Whether you're dealing with an emergency pipe burst, a water heater leak, or planning to update your kitchen or bathroom, our expert team is here to help.
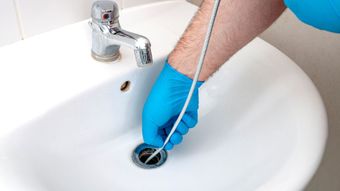
Drain Cleaning
We provide comprehensive drain services for kitchen sinks, bathroom drains, and main sewer lines using advanced tools like hydro jetting and inspection cameras.
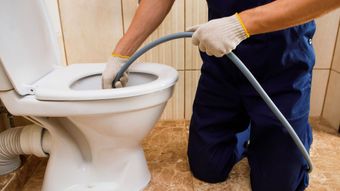
Hydro Jetting
We offer hydro jetting, an advanced service using high-pressure water jets to effectively clear blockages and debris from pipes, surpassing traditional methods.
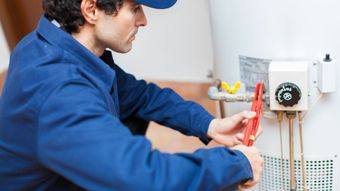
Water Heater
Turn to us, your local experts in Carlsbad, CA, and North County San Diego, for reliable plumbing services, including gas and electric water heater installation, repair, and replacement.
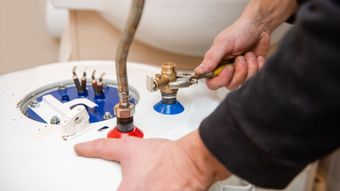
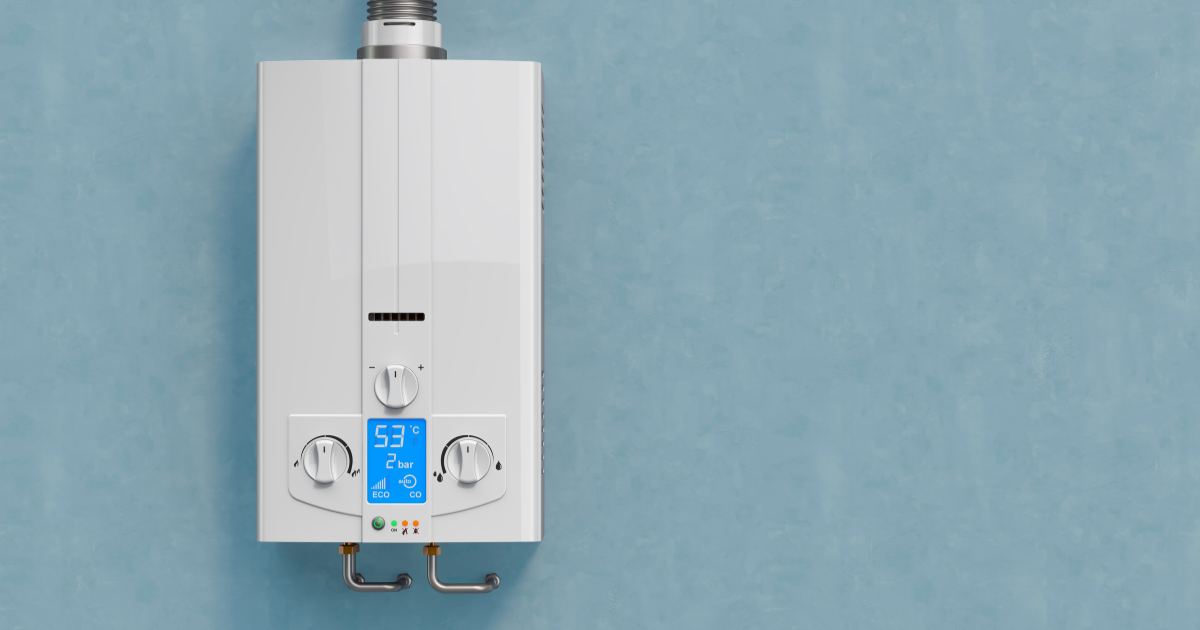
Tankless Water Heater
Tankless water heaters, increasingly popular among homeowners and businesses, save space and reduce utility bills by heating water as needed.
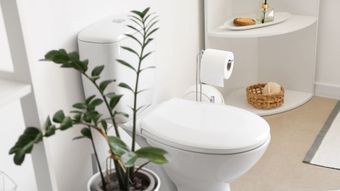
Toilet Repair
We offer expert toilet repair services, addressing issues like clogs, leaks, and running toilets to ensure your bathroom fixtures function properly and efficiently.
Emergency Plumbers
MasterCraft Plumbers provides prompt and reliable emergency plumbing services to quickly resolve urgent issues and minimize damage to your home or business.
Garbage Disposal
If you're looking for a plumbing company near you to handle garbage disposal repair or replacement, MasterCraft Plumbers of Carlsbad and Murrieta, CA, are here to help.
Commercial Plumber
Hydro jetting is a highly effective service for clearing blockages and debris from your pipes. This method outperforms traditional techniques.
We pride ourselves in client satisfaction
Our #1 Mission is your 100% Satisfaction
MasterCraft Plumbers was founded by a local Carlsbad contractor, Joe Martin after his frustration in trying to find reputable and professional plumbers for the remodeling division of his company.
After working with dozens of plumbing companies over the years, he teamed up with some of the best plumbers in the business.
The team at MasterCraft Plumbers is committed to delivering top-notch services to homeowners in and around Carlsbad and Murrietta, Ca. with exceptional service and total peace of mind.
Our Blog